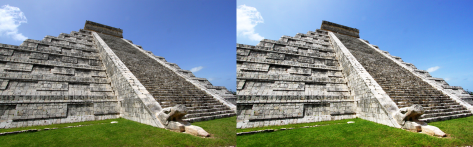
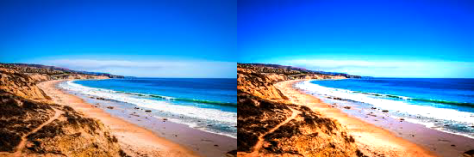
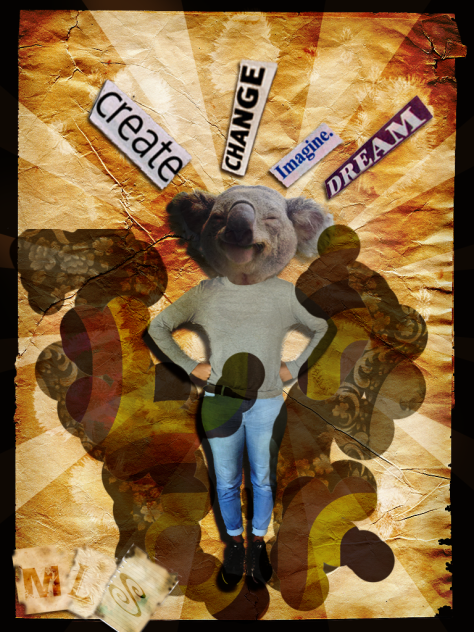
Brightness and Contrast: In this image I lowered the images brightness and increase the contrast.
Levels: I adjusted the levels of the shadows, Mid-tones and the highlights
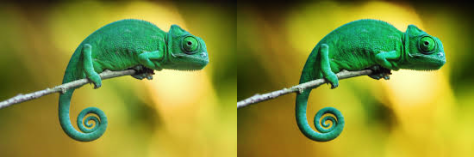
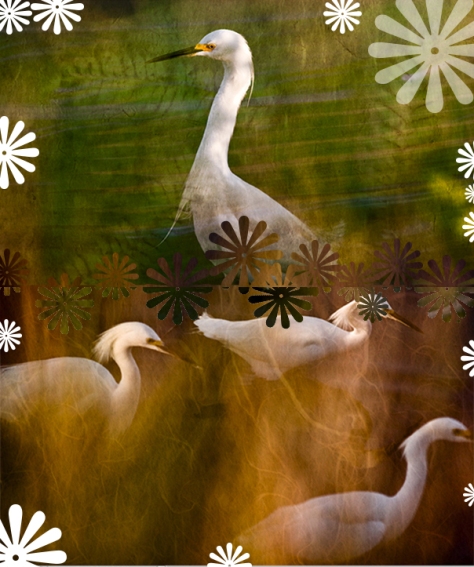
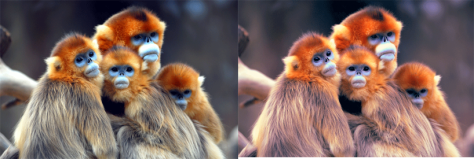
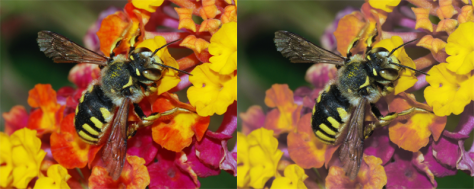
curves: Using the curve toll I adjusted the points on the graph that was given for a higher quality of color in the animals body.
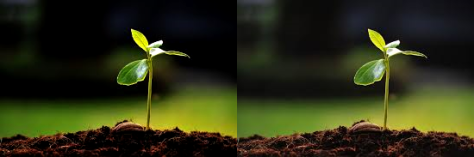
Exposure: Using the exposure tool I adjusted the sliders and offset and gamma.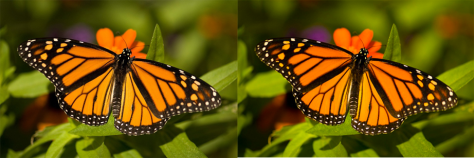
Vibrance: I used this tool to modify the level of saturation of all the colors in the image.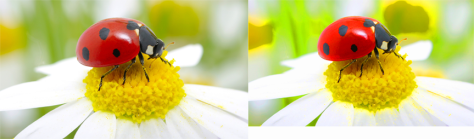
Hue/Saturation: I used the tool to adjust the hue/saturation and the lightness of the lady bug.
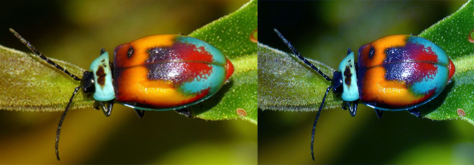
Color Balance: The color balance tool changes the brightness of the image and also brings out the colors in the object better
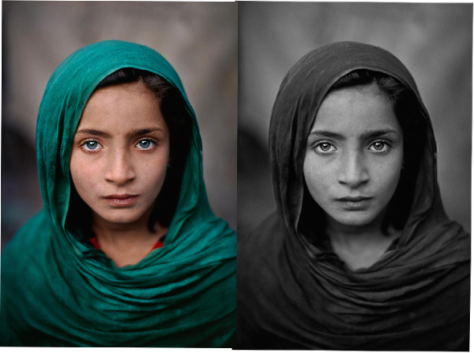
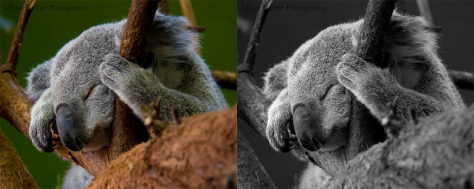
Black and white: This tool allowed me too create a gray scale version of the image.
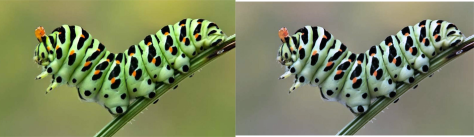
Photo filter: This tool added different color filters on top of the image.
Channel mixer: This tool let me modify the colors and tints and add a gray scale.
Color Lookup: With the color lookup there are three options (3DLUT file, abstract and Device).
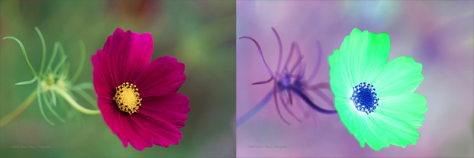
Invert: The tool created a negative affect.
Posturize: Creates a poster like appearance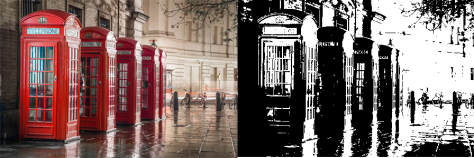
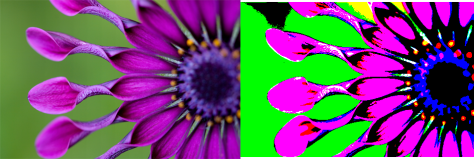
Threshold: This turned my image to black and white.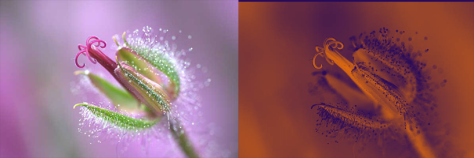
Gradient Map: Let me add a gradient fill it also allows the creator to add a custom fill.
Selective color: The amount of primary color is in your image.

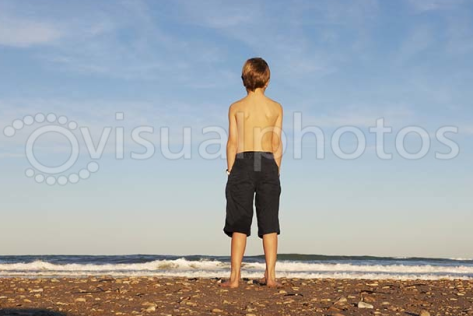


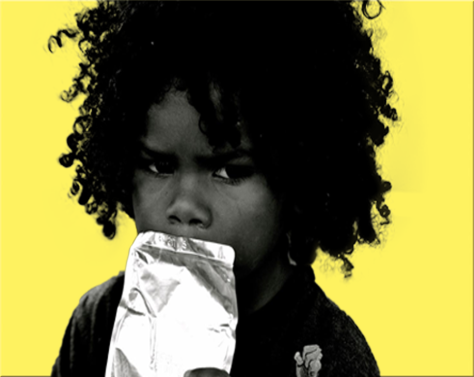 During this project some techniques that I used were the Selection tool in which here I selected his head then saving it by clicking select in the options menu on the very top of the screen and following the same procedure with his body. I also learned how to create a complete Alpha channel of his full body. Also I was able to show bring out the finer bits of the boys hair by using the refine brush. Some difficulties that I faced was making the selection be cause his hair is not straight so It was a little challenging working with his curls also making sure that my mask didn’t cut out his finger and decal on his shirt.


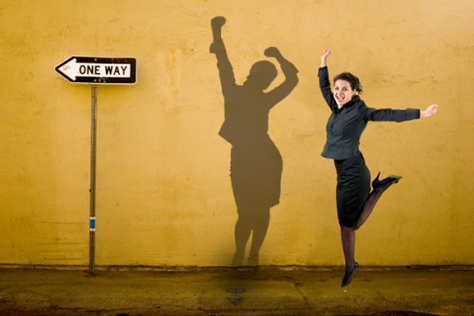
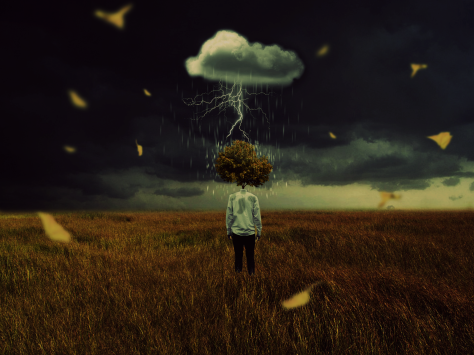
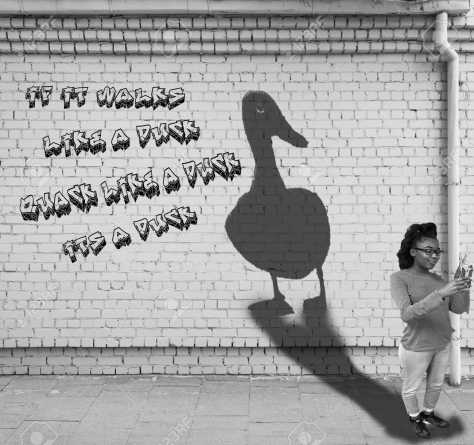 My shadow that I used in the “Inner me” project was a duck. I used a duck because they are funny animals but also get agitated just like me. How I created this was using crtl+shift+u to create the black and white, quick selection to cut my self out and also I used the brush to create the shadow.